One of the things I’ve always found interesting about WordPress is its ability to display different types of content using post types. Post types allow you to create more than one kind of post. In order to keep from every post looking like every other post, you can create your own custom post types. In this article we will take a look at custom post types, see what they are, and how to use them.
What is a Post Type?
Post types are the way content is posted in WordPress. WordPress has five post types built-in:
- Page – looks like a regular post, but isn’t tied to the time-based structure or categories of the regular posts. They have their own navigation structure in the menu. There’re usually only a few pages on a website.
- Post – the typical type used for everyday posting. Most articles use this post type. They’re posted in reverse sequential order, so the last post displays first. This is also used for RSS feeds.
- Attachment – this is a special post that holds information about a file that has been uploaded. Information includes meta data, description, name, size, thumbnails, location, alternate text, etc.
- Revision – these are drafts and any past revisions of published posts. They are copies of posts, but they’re not published.
- Navigation Menu – this post type holds information about items in the menu structure. Instead of displaying content, they display links to content based on the structure, tags, categories, etc.
You’re not limited to using just those five. You can make your own. This is known as a custom post type.
What is a Custom Post Type?
Custom post types are any post type that you create and add to WordPress that have custom parameters defined. There are several ways you can create and use them. They work like page templates that shows content in certain ways with certain layouts, features, and styles, giving your website a customized look. This is a great way to divide up your content so that specific posts stand out..
How to Use Custom Post Types
There are many ways to use a custom post type. Here are a few examples:
- Product page – would include photos, description, reviews, link to purchase, etc.
- Reviews (books, movies, games, music, courses, etc.) – would include item description, features, usability, comparisons, etc.
- Courses – would include title, description, materials used, teacher’s name, dates, location, prerequisites, etc.
- Events (concert, play, exhibition, wedding, game, etc.) – would show description, purpose, who is attending (speaker, artist, etc.), price, location, date and time, etc. It could use a template similar to an old event poster.
All of these can be custom post types that you select to create the post. You want to do an audio review? Select your custom post type called Audio Review and you’ve got the layout, styles, and features already built in.
Creating Custom Post Types with Code
One way to add custom post types is by manually adding the code to your theme. You add custom post types to WordPress theme’s functions.php file using the register_post_type() function. You can define a new post type by its labels, supported features, availability, etc.
You must call the register_post_type() before the admin_menu and after the after_setup_theme action hooks. The WordPress Codex recommends using the init hook.
Here’s the example code from the WordPress Codex that creates a post type named Product that’s identified as acme_product:
[php] add_action( ‘init’, ‘create_post_type’ );function create_post_type() {
register_post_type( ‘acme_product’,
array(
‘labels’ => array(
‘name’ => __( ‘Products’ ),
‘singular_name’ => __( ‘Product’ )
),
‘public’ => true,
‘has_archive’ => true,
)
);
}
[/php]
The argument Labels defines the name of the post type, and the argument Public makes the post type show up in the admin screen and on the site itself.
There are lots of arguments that can be passed to the register_post_type() function. You can use them to show the custom post types in searches, set up a hierarchy, change their URLs, show or hide meta boxes, and much more. The WordPress Codex provides a complete list of arguments with examples of how to use them.
Naming Conventions
Notice the name of the post type in this sample is acme_product. This uses the naming convention of placing the name of the plugin, theme, or website as a prefix. This keeps other custom post types from conflicting with those in other plugins or themes. Just make sure the name doesn’t exceed 20 characters.
Archives
In order to make your archive page accessible you’ll have to update the permalink structure. Templates for custom post types are placed in archives the same way that regular post types are. Custom post types would use:
archive-{post_type}.php
Templates
You can also use custom templates for your custom post types. You might have to adjust your permalink structure. The file in this example would use:
single-acme_product.php
Querying by Post Type
Once you have your template file registered in your WordPress theme, you can create new queries to display posts from a specific post type. You can do this using the post_type argument.
Here’s the example from the WordPress Codex:
[php] $args = array( ‘post_type’ => ‘product’, ‘posts_per_page’ => 10 );$loop = new WP_Query( $args );
while ( $loop->have_posts() ) : $loop->the_post();
the_title();
echo ‘<div class="entry-content">’;
the_content();
echo ‘</div>’;
endwhile;
[/php]
Custom Post Types in the Main Query
Once you’ve registered your custom post type you still have to add it to the main query. Using the pre_get_posts action hook will allow them to show up in your archives and on your home page.
Here’s the example from the WordPress Codex:
[php] // Show posts of ‘post’, ‘page’ and ‘movie’ post types on home pageadd_action( ‘pre_get_posts’, ‘add_my_post_types_to_query’ );
function add_my_post_types_to_query( $query ) {
if ( is_home() && $query->is_main_query() )
$query->set( ‘post_type’, array( ‘post’, ‘page’, ‘movie’ ) );
return $query;}
[/php]
About Using Code
Adding code has some advantages. For one, you can streamline your site without always worrying about updating plugins. One problem with adding the code to your theme is you’ll have to rewrite the code if you change themes.
Creating Custom Post Types with Plugins
An easier way to do this is by using a plugin. Plugins make it easier to switch themes without having to re-code your custom post types.
Custom Post Type UI
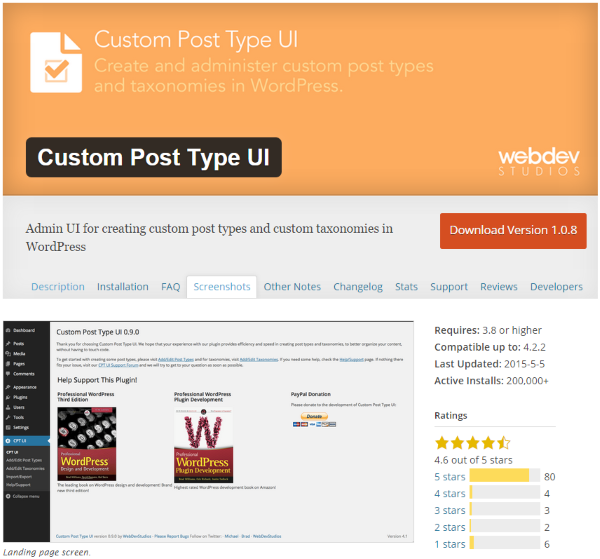
This free plugin give you an interface to create your own custom post types and taxonomies. It doesn’t handle custom post types that you’ve registered in your theme, but it does have an intuitive UI with lots of features.
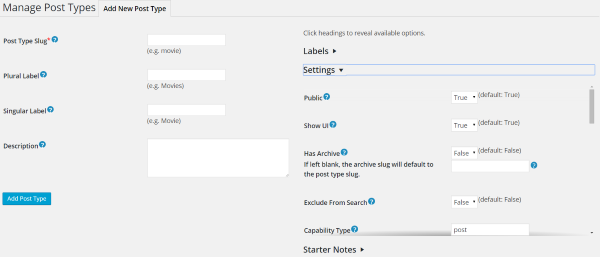
To create the post type you add a slug, labels, description, and settings. The settings are simple yet extensive. You can set up its capability type, menu position, the types of fields and formats it will support, menu icon, taxonomies, and more. There are lots of selections and plenty of help for each setting.
You can also import and export your custom post types. This is excellent if you want to share them with a colleague or if you want to use them on other websites that you own.
It’s easy to use. I was able to add custom post types in no time. I could go back and edit my post types, but there was no way to duplicate one when creating a new one. This isn’t a deal-breaker, but it would be handy.
Pods – Custom Content Types and Fields
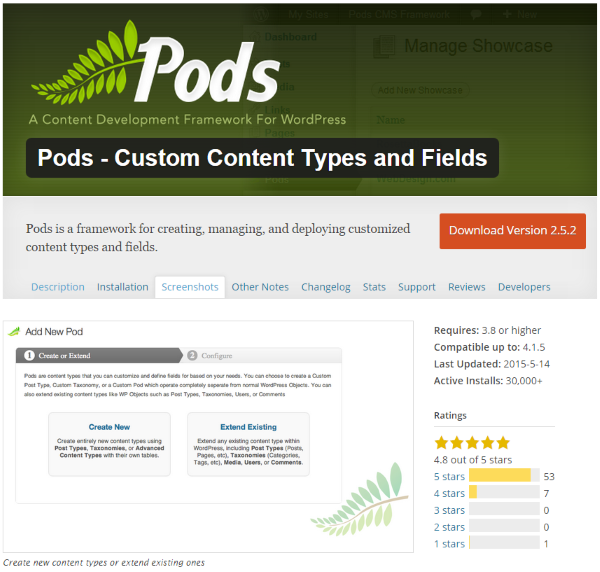
With this one you can either create new post types or extend exiting post types. It will create custom post types, custom taxonomies, custom settings pages, and advanced content types. For extending existing post types you can add new fields to regular post types, taxonomies, media, users, and comments.
You can choose from dates, numbers, text types, paragraph text, color picker, yes/no, file (image, video, etc.), avatars, and relationships. You can also theme your content types across every type of Pod. There are optional components that add roles and capabilities, pages, templates, helps, advanced content types, tables, advanced relationships, markdown, and theme integration. You can import from other UI’s, and it’s compatible with many other plugins and builders.
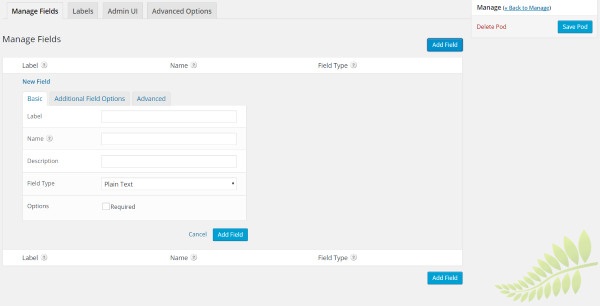
You can create your own field types and even apply shortcodes and HTML. The options are simple to create and manage. Once you’ve created your Pod you can add them into other content by using shortcodes. A Pod button appears in the visual editor where you can select the shortcode for any Pod. The post type is also added to your dashboard, so you can select it just like you would a page or post.
Out of the box, this is one of the best options for creating custom post types. It’s easy to use and has tons of features. I had no compatibility issues with it and using it is easy and intuitive. I’d like to see a feature for duplicating pods, but at least they’re easy to make.
Custom Content Type Manager
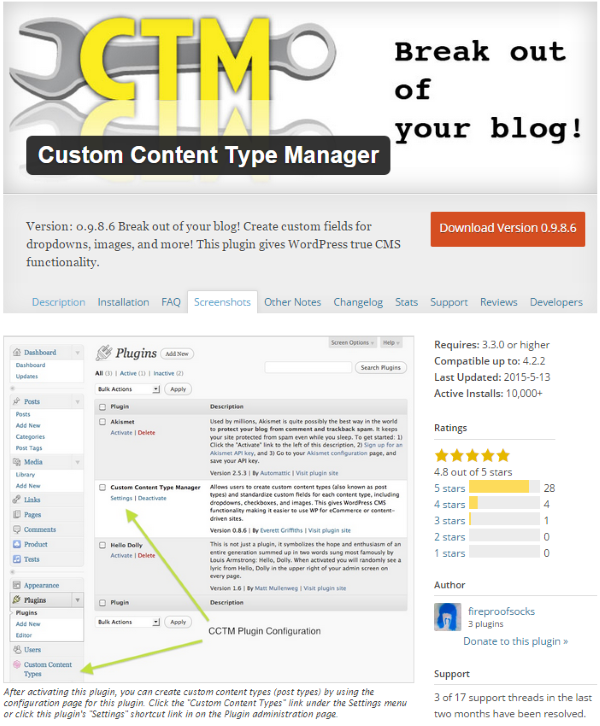
This one lets you create custom post types with standardized custom fields, including checkboxes, dropdowns, images, etc. You can store multiple posts, media, etc., in a single field. This is a great way to store a gallery of images and other types of media.
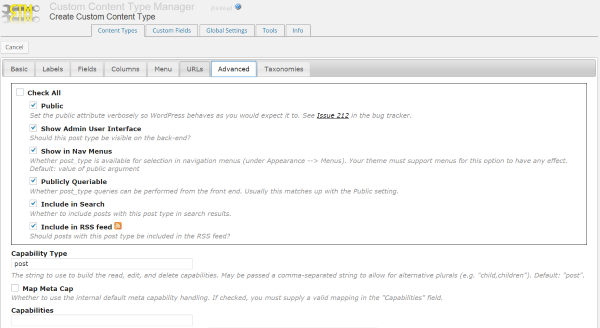
Creating the custom post types is fairly straightforward. You set up labels, fields, columns, menus, URL’s, taxonomies, actions, etc. You can adjust the PHP, CSS, and HTML for each custom post type. You can also create custom post types from the two sample templates that are included. Once you’ve created your post types you simply activate them and they’re ready to use. You can edit or duplicate any post type. That’s a feature I’d like to see on the others.
It adds you post types to the dashboard so you can select them like you would a page or post. It also adds two buttons to your visual editor:
Summarize Posts
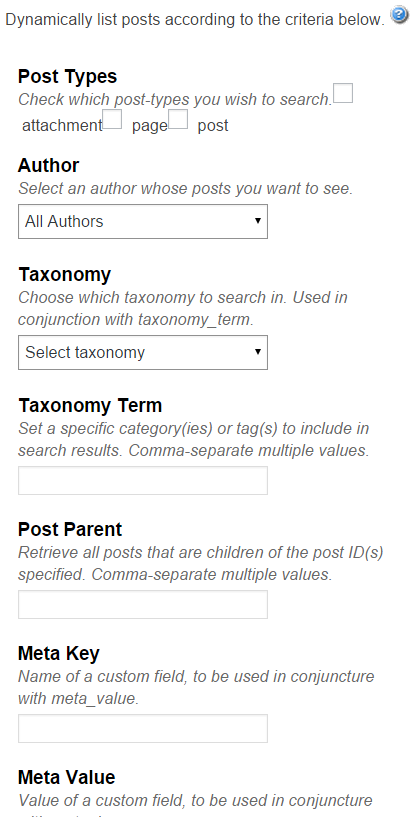
This one allows you to dynamically list posts according to criteria that you select. You can create settings to post types and taxonomies within your pages and posts.
Custom Fields

With this one you can choose the shortcodes from the list and they will be pasted into your content.
There are a lot of options for creating custom post types with this one. You can import and export your content definitions so you can reuse them on others sites. It’s easy to use and has lots of good features.
WCK – Custom Fields and Custom Post Types Creator
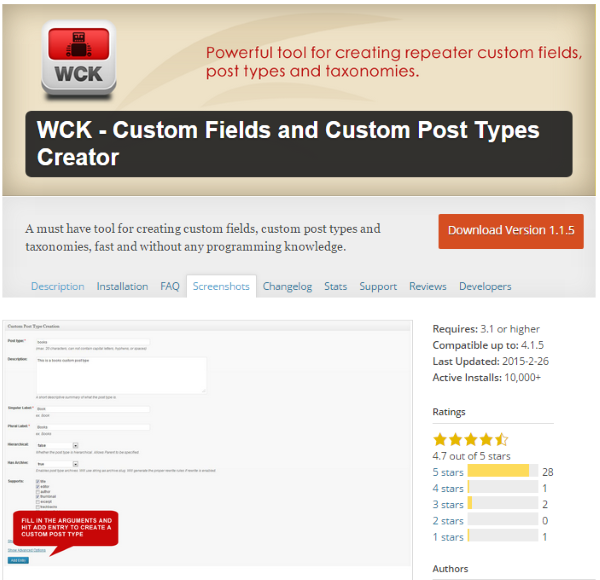
This one has a WordPress Creation Kit with three tools to help you create and maintain custom post types, custom taxonomies, and custom fields and metaboxes for your posts, pages, custom post types. You can create your own custom post types using a built-in UI.
- WCK Custom Fields Creator– lets you create custom fields for your posts, pages, and custom post types. It stores data in standard custom fields.
- WCK Custom Post Type Creator– lets you create custom post types using an UI for the register_post_type() function.
- WCK Taxonomy Creator– lets you create and edit custom taxonomies. It has a UI for the register_taxonomy() function.
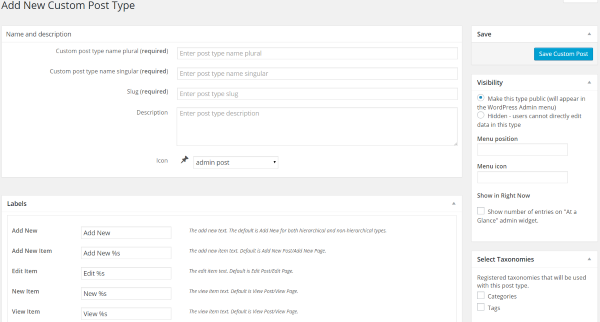
The Post Type Creator is easy to use. You simply give it a name, label, description, choose if it’s hierarchal or has archives, and then choose the types of fields it supports. You can also go through the advanced options for labels, menu positioning, capabilities, etc.
Once you’ve added a custom post type, you simply click on Add New from that post type’s link in the dashboard menu and you’re creating a new post for that type. The post type will have the formats and settings that you chose when you created it. You have to create from scratch each time you build a new one.
There’s a quick start-up guide to help you through it. Although, the settings are so intuitive, and there’re examples given for each field, so you might not need the guide very much.
There’s also a Pro Version that adds lots of new features. Hobbyist is $49 for use on 1 site. It includes the Options Page Creator and extra custom field types that include:
- WYSIWYG Editor
- Upload Field
- Date
- User
- CPT Select
- Country
- Text Input
- Text area
- Drop-Down Select
- Checkboxes
- Radio Buttons
It also has 1 year of updates and support. Pro is $139 for unlimited sites and adds Swift Templates and Front-end Hosting.
Types
Types is a plugin that makes it easy to define your own custom post types, custom fields, and custom taxonomies. What’s interesting is you can connect between different post types. The example they show is Events and Artists. You can connect the two together using a parent/child relationship. It will even let you edit child data on parent pages.
This one has most of the features you could want in creating and managing your custom post types. All of the fields give detailed descriptions of how to use them. You create the post name and description, labels, choose the sections to display (title, editor, comments, trackback, etc.), options (rewrite, pages, feeds, etc.), and post relationship between parent and child. You can export your settings to other websites.
It adds the post type to the dashboard menu so you can select it just like you would a page or a post. I didn’t see a way to duplicate a custom post type, so you have to create from scratch.
It has some other interesting features including the ability to resize and crop images and an advanced image cache so your images load and display as quickly as possible. You can also integrate the API into your PHP to display fields with their native data types.
It’s easy to use and includes a guide to help you get started. What’s interesting about the guide is you can choose from a list the type of site you’re building and then it shows you the information for that type of site. Sites include brochure, directory, E-Commerce, blog, etc.
Final Thoughts
Custom post types are a great way to make your content stand out and it’s easy to create your own either with code or with a simple plugin. Using one of the methods described here you can create your own custom post types in no time.
How about you? Do you use custom post types? Do you use plugins or do you prefer to code your own? Tell us about it in the comments below.